Set up your studio on Scarlet
Create your account and your studio, then work through six short setup steps. You can skip any step and come back to it from the checklist on Today; the app stores come after, and they take longer because Apple and Google check your business first.
On this page 9 sections
Before you start#
Have these to hand. None of them is needed to create the studio, but each step goes faster with them.
- Your business's name as clients know it, and its time zone and currency.
- Your logo, and the color you use for your brand.
- The email addresses of the people who help you run the studio.
- For the App Store and Google Play: a D-U-N-S number for your business, a website, and a work email on your own domain. Publishing your app explains each one.
Create your account#
Open the admin
Choose Get started or Sign up on meetscarlet.com: it opens Create your account, ready to start your studio. Or go to admin.meetscarlet.com and choose Create an account under the sign-in form. You can sign up with an email and password, or with Continue with Google. The eye in the password field shows what you typed. Under the button, a line says that by creating an account you agree to the Terms of service and Privacy policy, each a link to its page.
Confirm your email
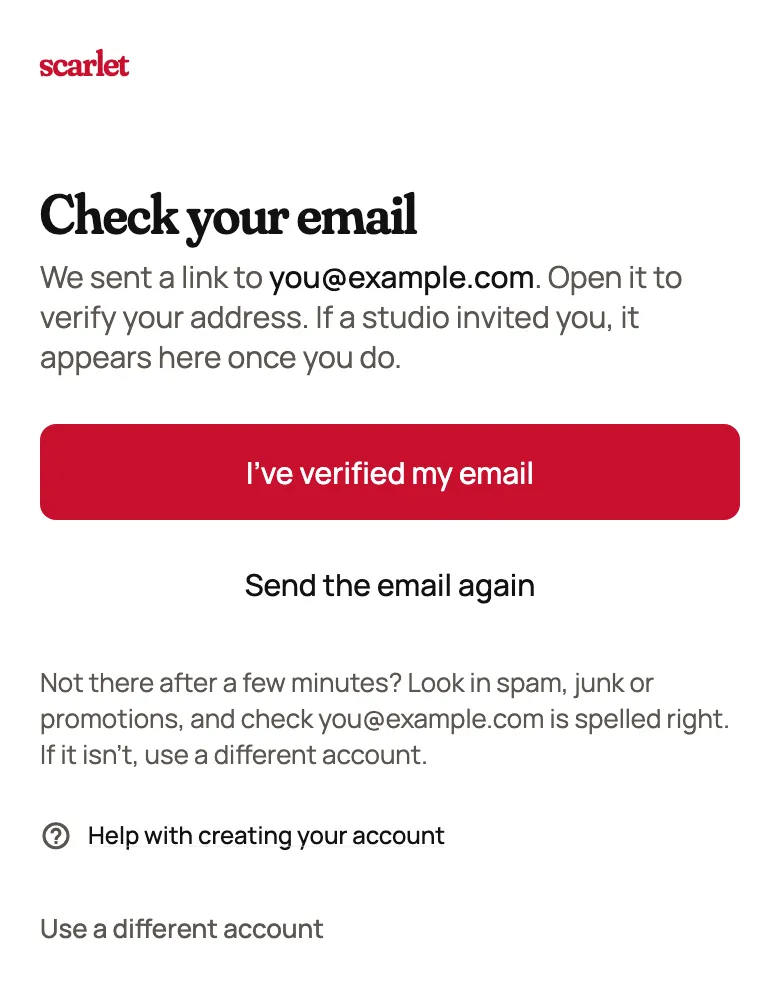
If you used an email and password, open the email we send and follow its link, then choose I’ve verified my email. If it hasn't arrived, choose Send the email again and check your spam folder.
Sign in, or reset your password#
Sign in at admin.meetscarlet.com with the email and password you signed up with, or with Continue with Google. Forgot your password? Choose Forgot? beside the password field, type your email and choose Send reset link. If that email has an account, a link to choose a new password is on its way. If you turned on two-step sign-in, you'll be asked for your code after your password.
Create your studio#
On the first screen, give your studio its name and choose what kind of business it is: Tanning, Padel and courts, Pilates and fitness, Salons, Barbers, Car washes, Agencies and consultants or Not sure yet. Scarlet fills in the time zone and currency from your browser and shows them in one line; choose Change to pick others. Then choose Create studio. A line there says that by creating a studio you agree to the same Terms of service and Privacy policy.
If you typed your business name and picked a kind of business and a color on meetscarlet.com before Get started, this screen starts with that name and kind, and the look step starts with that color, not saved until you save it. A plan you picked on the pricing page is chosen for you when you subscribe. Change any of them as you go. They are kept in the browser you started in, so finish signing up there; on another device, you type them again.
The six setup steps#
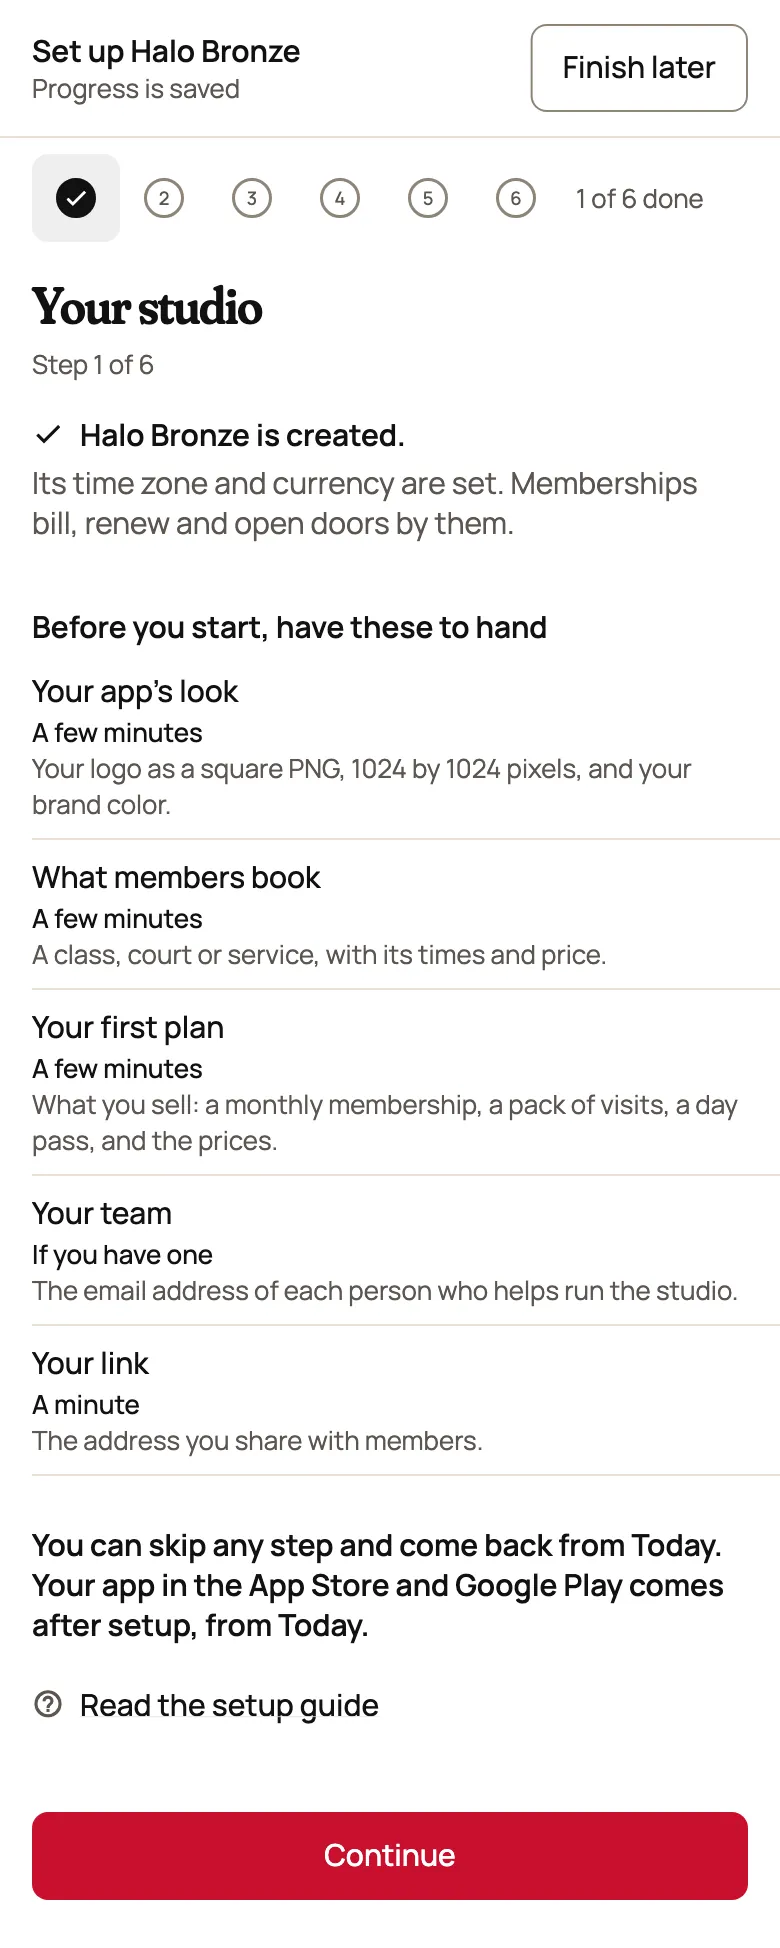
The admin then opens setup. Most steps have Skip for now, and a skipped step stays on your checklist, so nothing is lost. Finish later at the top takes you to Today; the bar says Progress is saved, and setup opens where you left off.
Your studio
This step confirms your studio is created, with its time zone and currency set, and lists what to have ready for the rest: your logo and brand color for the look, what members book, what you sell and the prices for your first plan, and your team's email addresses. Choose Continue.
Your app’s look
Pick whether your app is light, dark or follows each member's phone, then its name, color and font. The phone beside the editor shows your real app as your members will see it. Continue saves your changes and moves on. You can change all of it later in Your app. See Make the app look like yours.
What members book
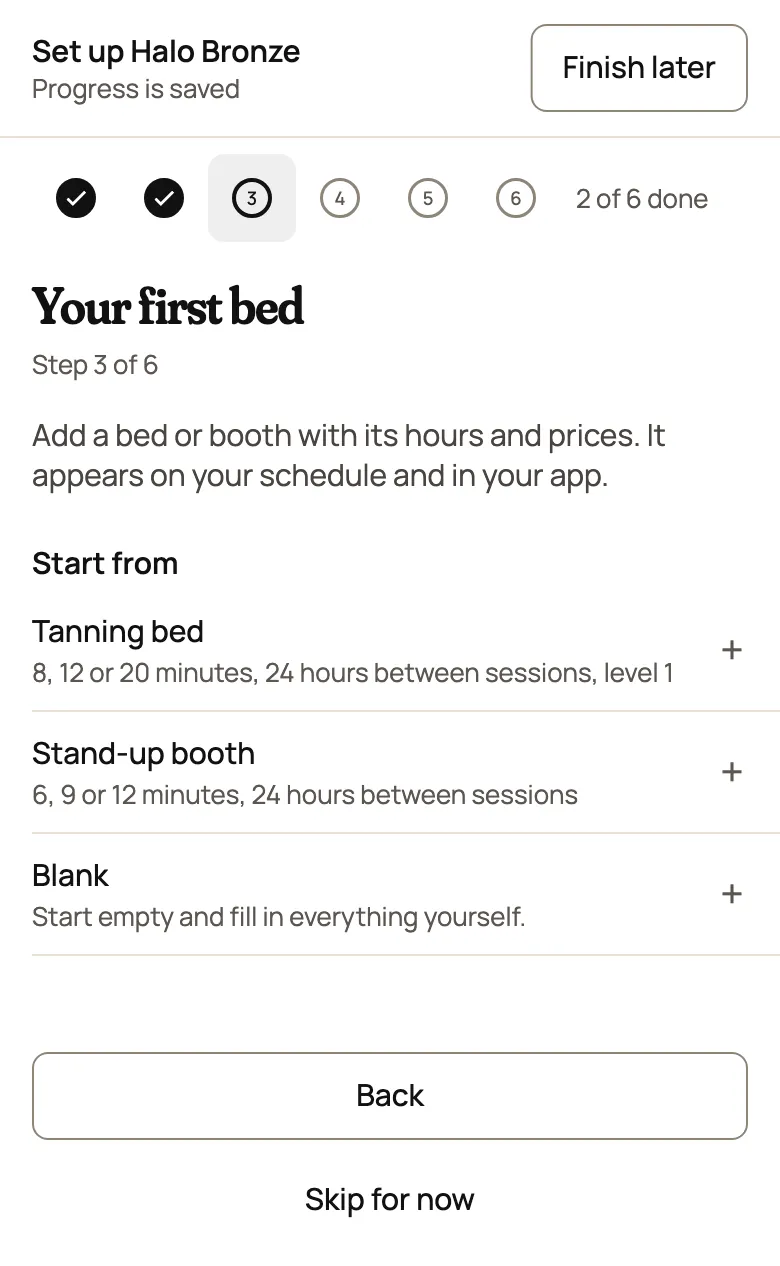
This step takes its name from your kind of business: Your first class for Pilates and fitness, Your first court for padel, Your first bed for tanning, and Your first service for salons, barbers, agencies and consultants. Start from a ready-made setup or a blank one; every value stays yours to change. A service needs someone to book, so the first time you add one, you give your name and your hours. If you chose Not sure yet, it asks What do members book? first. Car washes don't have this step: members buy washes, they don't book a time. See classes, courts and beds or appointments.
Your first plan
Plans are what your members buy: a monthly membership, a pack of visits, a day pass. Choose Create your first plan, pick a starting point, set the name and price, and choose Create plan. Once you have a plan, Continue appears. See Sell memberships, packs and passes.
Your team
If it's just you, choose I work alone. Otherwise choose Add teammate, add each person's email and choose a role: Manager, Front desk or Instructor. Then choose Add to my team. They join by signing in at admin.meetscarlet.com with that email. Scarlet doesn't email them, so tell them yourself: Copy invite message under each name gives you a note to paste into an email or a text. Your Scarlet plan sets the team size, counting you: 5 on Scarlet, 20 on Scarlet Pro. See Invite your team.
Your link
This is the go.meetscarlet.com address you share or print on a poster. The box starts with a suggestion from your studio's name, which is not yours until you choose Claim address. Then Copy link copies it. You can connect your own domain later in Your app. See Claim your address.
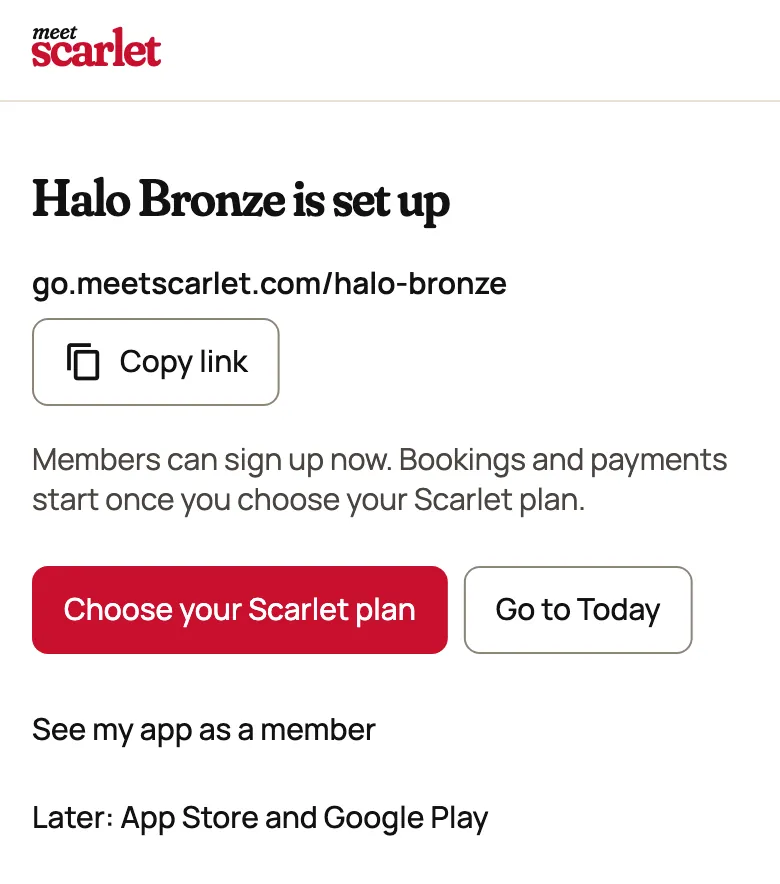
At the end, a summary shows your link and says what members can do today. Until you choose your Scarlet plan, members can sign up, and bookings and payments wait for the plan.
Pick up where you left off#
Until you're ready, Today shows a Ready for members checklist that counts its rows: your studio, your app's look, what members book, your first plan, your link and your Scarlet plan. Your team sits under Optional and doesn't count. Choose any row marked To do or Skipped, the ones with an arrow, to open it, or Continue setup for the next one. Before you've done any step it reads Start setup; when only skipped steps are left, it reads Finish skipped steps. If the checklist can't load, Today says so, with Try again. Hide tucks the checklist away; Show checklist brings it back.
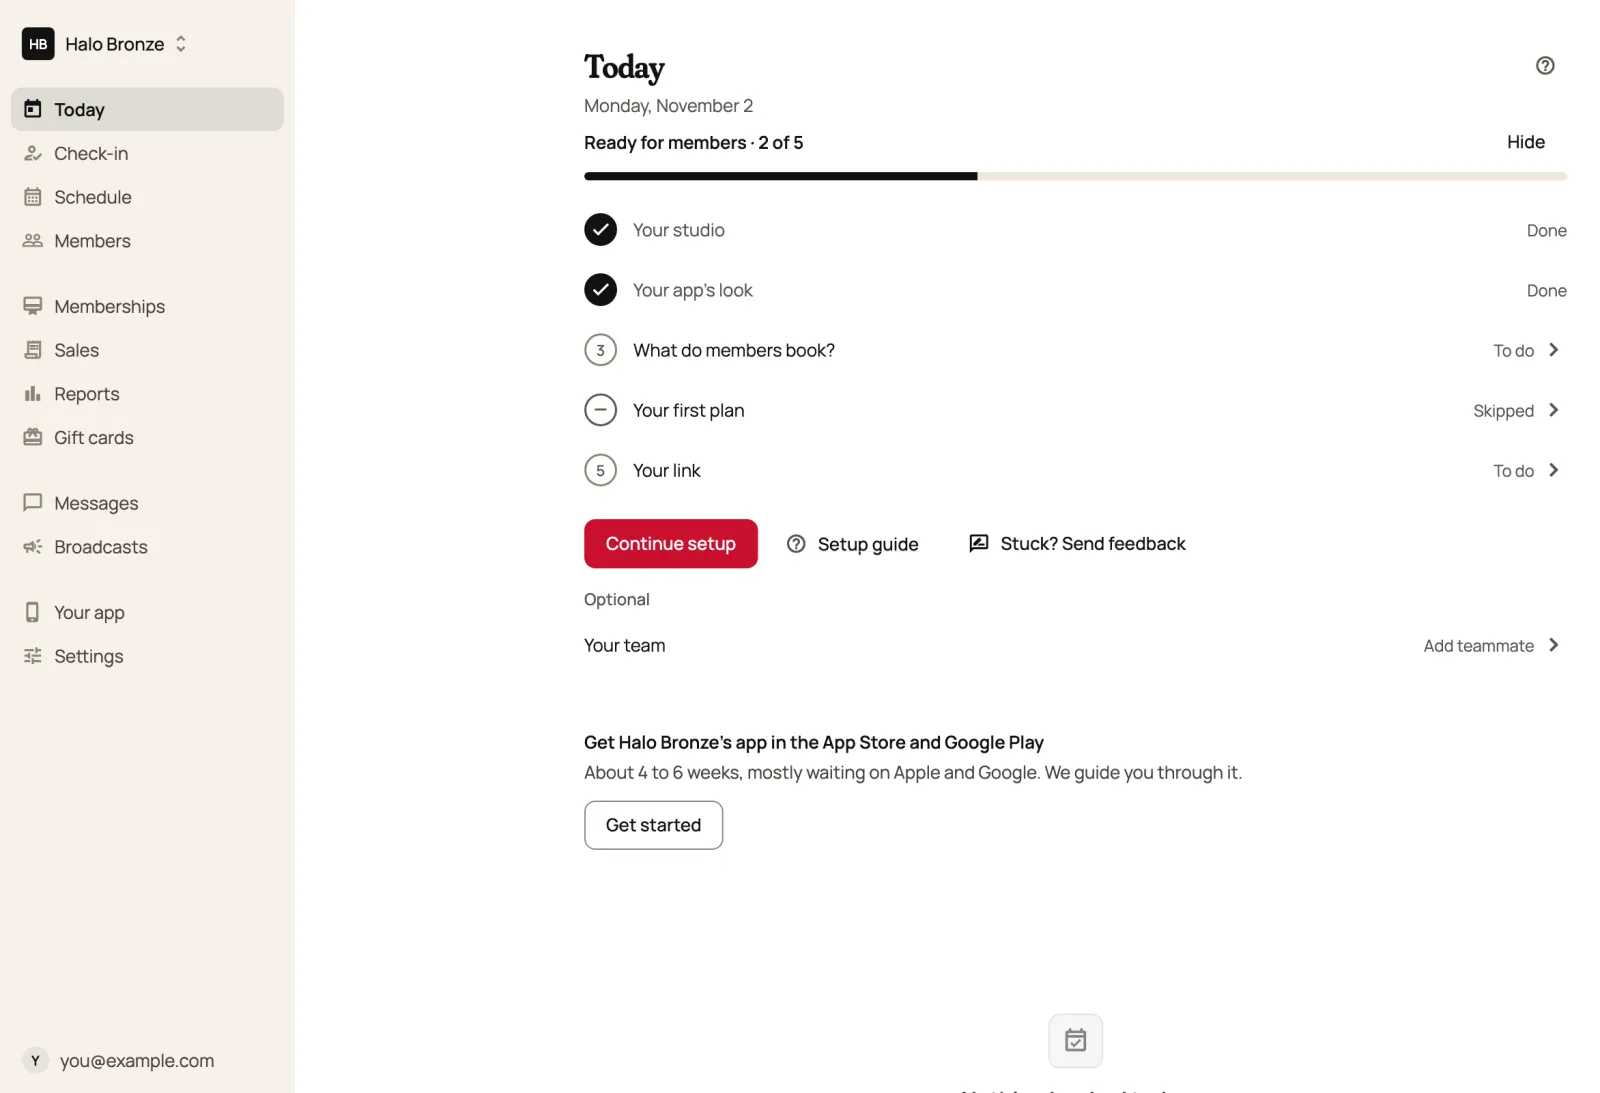
Once you've claimed your link, Today keeps it there with Copy link. Below that, a card for the App Store and Google Play stays until your app is live in both. Your app is published from your own Apple Developer and Google Play accounts, so Get started opens a guide to opening them and adding the keys we use to publish. See Publish your app.
Only owners and managers see setup. Front desk staff and instructors go straight to their screens.
After setup: open for bookings#
Setup gets your studio and app ready. Before members can book, do these, in this order:
- Start your Scarlet subscription with Choose your Scarlet plan.
- Add the rest of what people book: classes, appointments or courts and beds, with their hours.
- Connect Stripe so members can pay in your app. Until then, they pay at the desk.
- Share your booking link.
Finding your way around#
On a computer, every part of the admin is in the menu. On a phone, the bar at the bottom shows Today, Check-in, Schedule and Members. Everything else, including Settings, is under More.
If you work at more than one studio, choose your studio's name to switch to another, or to create another studio. The Account menu shows the email you're signed in with, lets you pick Light, Dark or Match device, and has Help and guides and Sign out.
Your day on Today#
Today is the first screen in the admin. One line gives today's date (like Monday, November 2, or Mon, Nov 2 on a phone) and the day in numbers, like 4 bookings, 2 checked in, 2 still to arrive (on a phone, 2 in and 2 to come). Open schedule, next to the line on a computer and under it on a phone, takes you to Schedule. Below it is one row for each booking. The page updates live as members book in your app or at the desk:
- Bookings: everything booked for today that isn't cancelled. A no-show still counts as a booking, but not as checked in or still to arrive.
- Checked in: who has arrived. Check people in on Check-in, or with the button on their row below: rooms, courts and classes straight away, and appointments once they have started. When everyone booked has checked in, the line says all checked in.
- Still to arrive: bookings not yet checked in. A part that is zero is left out of the line.
Each row shows the booking's time, who booked it, what they booked and its state: Booked, Checked in, Cancelled or No-show. The next booking still to come has a red bar at its left edge and its name in bolder type. A booking still Booked once your No-show grace has passed after its start (15 minutes unless you changed it in Settings) says Not arrived under its name, with an orange dot, so you can see who to chase. Times and the day follow your studio's time zone, even on a computer set to another one. Instructors see room and court bookings here; their classes and appointments are in the Schedule. A cancelled booking stays in the list with a dash and the word Cancelled, its name in a lighter weight and never struck through, and says Late cancel under the name if it was cancelled inside your cancellation window.
Tap a court, room or bed booking to open its details, where you can check the person in, see what they owe or cancel. A booking that is still Booked also has a Check in button on its row, which checks them in straight away and shows the result. On a class, it checks the member in at once, and the message that confirms it has Undo for about 8 seconds, in case you tapped the wrong person. An appointment asks you to confirm first. Owners, managers and front desk staff see the button. Tapping a class or an appointment opens Schedule, where its roster lives.

On a day with nothing booked, Today offers Open the schedule to add a class or a booking, and a link to how members book.
Still stuck?
Email hello@meetscarlet.com and tell us which guide you were on. A person reads every message.